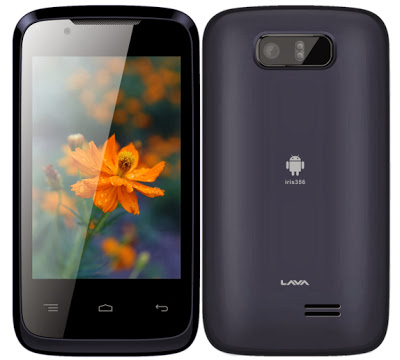
Lava Iris 356 Restore Factory Hard Reset Remove Pattern Lock
It will remove all the data ,contacts and apps that you installed

Just Follow Instructions:
1. Press And Hold Volume Up & Power Key Until You See This Screen.
2. Now Press Power Key, Then You Will See The Below Screen.
3. Now Go To ” Wipe Data/factory Reset” By Pressing Volume Down Key.
4. Now Press Volume Up Key.
5. Now Go To “Yes — Delete All User Data” By Pressing Volume Down Key & Press Volume Up Key.
6. Now Press Volume Up Key Once Again On “reboot System Now”
Lava Iris 356 Restore Factory Hard Reset Format Phone.So lets start the Lava Iris 356 Restore Factory, Lava Iris 356 Hard Reset.Turn Off the mobile phone for few mints.Lava Iris 356 Remove Pattern Lock.
It will remove all the data ,contacts and apps that you installed
Just Follow Instructions:
1. Press And Hold Volume Up & Power Key Until You See This Screen.
2. Now Press Power Key, Then You Will See The Below Screen.
3. Now Go To ” Wipe Data/factory Reset” By Pressing Volume Down Key.
4. Now Press Volume Up Key.
5. Now Go To “Yes — Delete All User Data” By Pressing Volume Down Key & Press Volume Up Key.
6. Now Press Volume Up Key Once Again On “reboot System Now”
Lava Iris 356 Restore Factory Hard Reset Format Phone.So lets start the Lava Iris 356 Restore Factory, Lava Iris 356 Hard Reset.Turn Off the mobile phone for few mints.Lava Iris 356 Remove Pattern Lock.