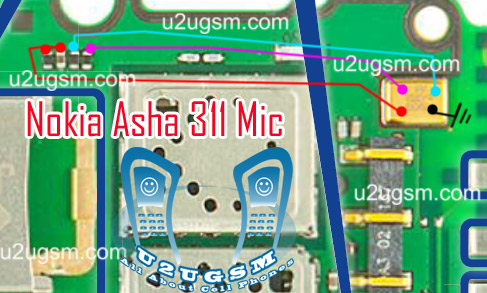
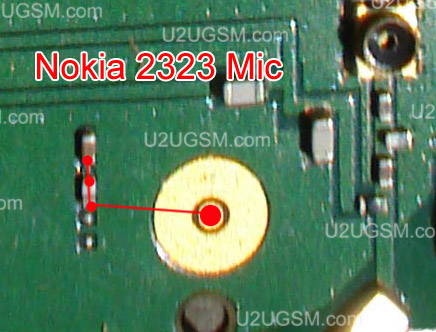
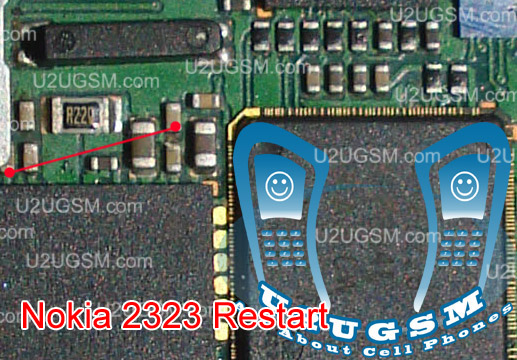
If you are facing mic problem low voice
or not voice out going to destination then this diagram will help you
to solve mice problem in nokia asha 303. In diagram bellw you can see a
mic that is defined with red boarder and some parts are also defined
with red line boarder.

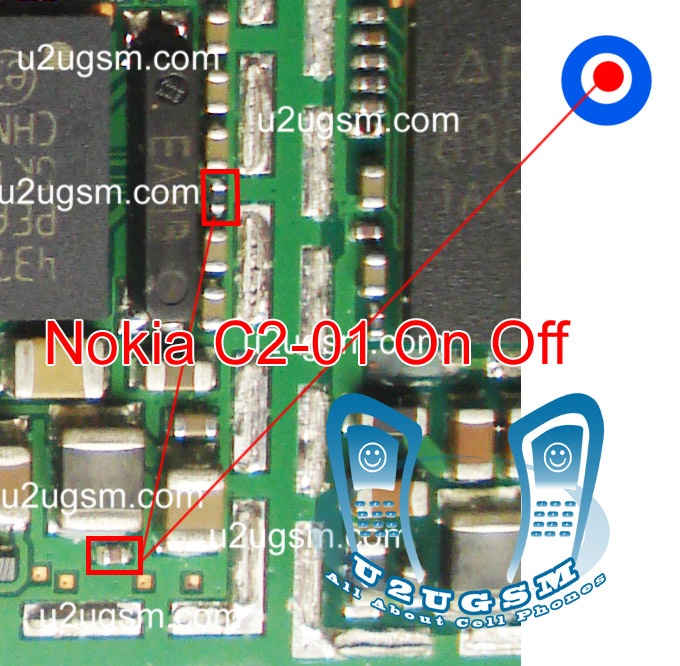
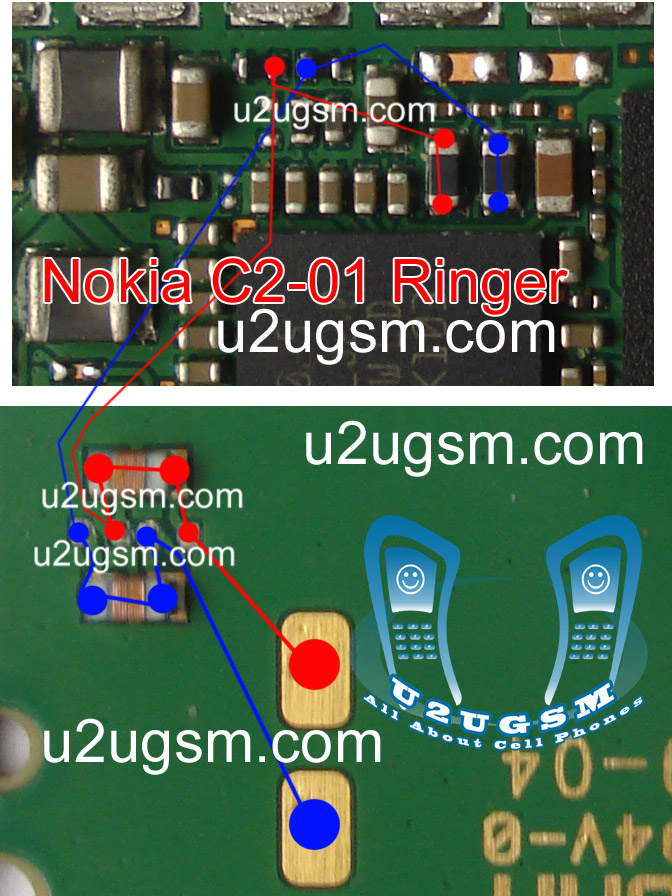
So we have to check all these parts that are in red board to solve mic problem and mic not working problem in nokia asha 300.check mother board vary carefully if there is any rust carbon or water damage issue. Clean mother board form these areas and apply some heat with hot air so that mother board of nokia asha 303 can be dry.
If with only service it can not be solved change mic and you can remove mic with hot air or solding iron. In nokia asha 300 mic has 4 points itself and one is ground other are data clock points. so we can apply jumpers in these point.
for more detail and new tips and tricks about cellphone service problem keep visiting this page we will update cellphone service diagrams timely with new cellphone diagrams.some related post are also given bellow you can read them also for more information about cellphone.